Optimising Images for Display on Web
What is Image Optimisation and why should I care?
The most commonly supported images used on the web are JPEG (lossy), PNG (lossless, compressed) and GIF (limited colour palette). Often images contain ‘metadata’ that don’t add anything to the visual quality of the image - eg, type of camera and settings, GPS co-ordinates, time, date and so on.
On a typical blog, business page or eCommerce website, images are added over time using the Administrative back end features of CMSs such as WordPress, Drupal, Joomla!, Magento etc.
Many different roles within the organisation may be given access to upload images, and often these files and processes haven’t been optimised for web - increasing the file size by 30-80% with no corresponding increase in quality.
So image enter image optimisation. This is a collection of tools and techniques we can apply to reduce the size of the file dramatically, whilst decreasing the quality of the image as little as possible (if, at all), and improving the download time and responsiveness of the site.
As always, please test thoroughly and ensure you have a backup before using any of these tools or techniques in a Production environment.
Online Solutions for a small amount of images
There are a variety of well known and regarded online solutions that allow us to do this for individual images, and even batch several at a time, such as Kraken!, TinyPNG and Compressor.io. Although each of these services can offer a comparable benefit, what about if we have a large amount of images (hundreds, thousands or more) that might all require optimising?
Command Line Options for Large Amounts of images
CLI Tools
Presuming you’re using a modern version of Linux and can install the relevant tools using your distribution’s package manager, eg. homebrew (Mac OS X), apt (Debian/Ubuntu) or yum (RedHat, CentOS) the tools you’ll need to ensure you have installed include -
- ImageMagick: we’ll use only the ‘convert’ feature to resize images using Terminal or CLI to the correct dimensions, instead of resizing it in code (HTML, JS or CSS)… although ImageMagick is capable of much(!) more than this.
- gifsicle: used to losslessly optimise GIF files
- optipng: used to losslessly optimise PNG files (please be aware there are many tools to optimise PNGs that may interfere with transparency or animations in my experience, optipng does not)
- jpegoptim: used to quickly optimise many JPEG files with minimal overhead
- guetzli: used to reduce the size of JPEGs dramatically, but is very computationally expensive (so, use sparingly)
Installation
Debian / Ubuntu
apt-get update
apt-get install -y jpegoptim optipng gifsicle guetzli imagemagick
Mac OS X
Open Terminal: Spotlight Search, type ‘term’, open “terminal.app”
brew update
brew install jpegoptim optipng gifsicle guetzli imagemagick
Optimising a single image (JPEG)
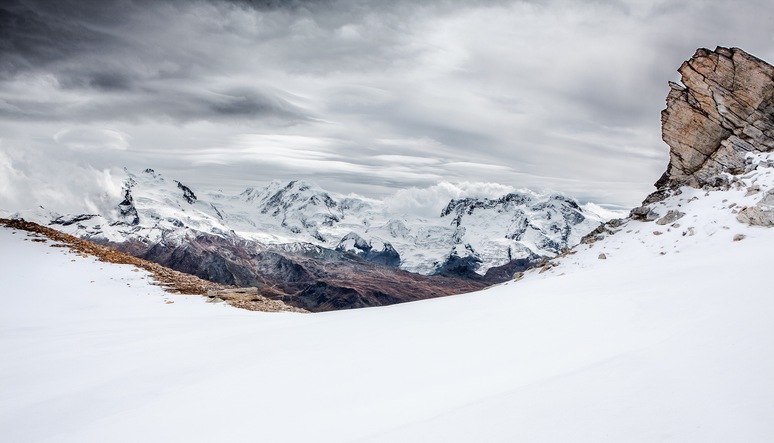
Original Image: swiss-alps-orig.jpg 1.1MB 
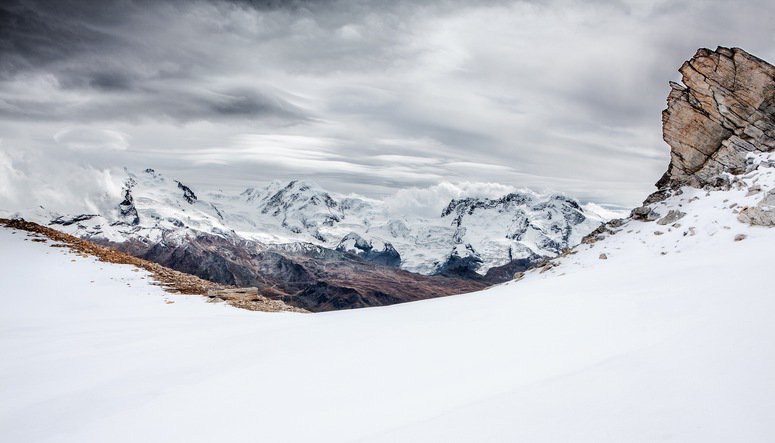
JPEG Optim Image: swiss-alps-jpegoptim.jpg 818KB 
Mac OS X Command: jpegoptim -m85 -o -p --strip-all swiss-alps-jpegoptim.jpg

Linux Command: jpegoptim --strip-all -P swiss-alps-jpegoptim.jpg

Example Output: swiss-alps-jpegoptim.jpg 3000x1716 24bit N Exif XMP IPTC JFIF  [OK] 1114034 --> 837295 bytes (24.84%), optimized.

Execution Time: <1s
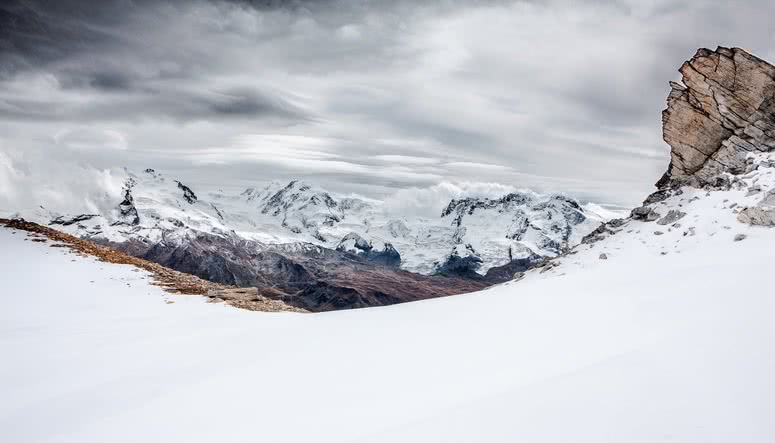
Guetzli Optimised Image: swiss-alps-guetzli.jpg 526K 
Command: guetzli --quality 85 swiss-alps-guetzli.jpg swiss-alps-guetzli.jpg
Example Output: (none)

Execution Time: ~4m
Interestingly, doing a Guetzli optimisation from the original image takes a little longer (~5 mins), but results in a 10k smaller file size - so the ultimate smallest file size is 516k.
See if you can determine the difference in visual quality for yourself - I cannot, and the download an file size is half the original, or twice as fast. For Photography and Creative blogs, this is nearly always a worthwhile investment of time for a modest number of images.
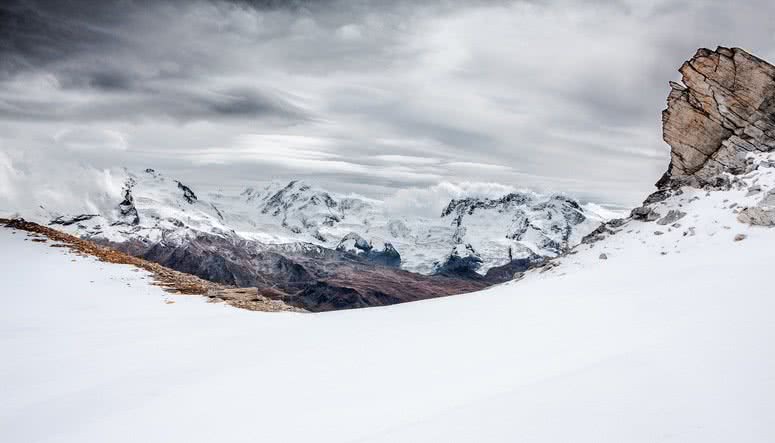
Guetzli Optimised Image, From Original: swiss-alps-guetzli-from-orig.jpg 516K 
Initial testing after doing the above suggests the resolution of the native image (originally 3000x1716px) was going to be “down scaled” within my CSS code to a display resolution of 775x743px, or 93% larger (including to be downloaded) than it needs to be. So let’s initially convert it to the correct dimensions natively:
convert swiss-alps.jpg -resize 775x743 swiss-alps-resized.jpg
Then, applying the optimisations above, these are the results.
- Resized only went from 1.1M to 78K
- jpegoptim reduced size by 34.88% in 1 second (51K)
- Guetzli reduced the ‘resized only image’ to 36K
- Guetzli reduced the ‘resized and already jpegoptim’ image to 40K
Pulling it together with some BASH script
OK now we’ve identified a list of JPEGs that are worthy of burning some CPU cycles to optimise using Guetzli.
Let’s resize them first -
#!/bin/bash

# Usage: ./this-script.sh image-name.jpg 200x400(new desired resolution)
# Example: ./img.sh IMG_8749.jpg 267x355

# First take a backup to a hidden dot file with a tilde ~ "just in case"
cp $1 .$1~
# Next convert the image to the new resolution in place
convert $1 -resize $2 $1
Then let’s put them into a list file in ‘/tmp/list’, including their relative path to the current working directory, and use another script to iterate over them -
#!/bin/bash
while read image; do
  # List the original size
  ls -lash "$image"
  # Iterate using Guetzli, noting no output is expected
  guetzli --quality 85 "$image" "$image"
  # List the new improved size
  ls -lash "$image"
done </tmp/list